How to Create a Smokey Eye Look: A Step-by-Step Guide
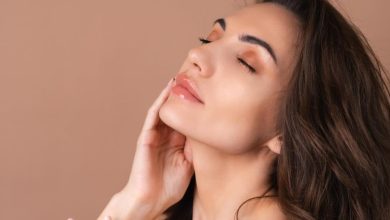
A smokey eye is a timeless makeup look that adds drama and allure to any occasion. Hotscope Whether you’re attending a glamorous event or just want to elevate your everyday makeup routine, mastering the art of the smokey eye is essential. With the right tools and techniques, you can achieve a sultry, smoldering gaze that will turn heads wherever you go. Follow this step-by-step guide to create the perfect smokey eye look.
- Prepare Your Canvas:
Before diving into the smokey eye, it’s crucial to start with a clean, primed canvas. Begin by applying an eyeshadow primer to your eyelids to ensure your makeup stays in place and intensifies the eyeshadow’s pigmentation. Additionally, dust a translucent setting powder over the primer to create a smooth base and prevent creasing.
- Choose Your Colors:
While the classic smokey eye is often associated with deep blacks and grays, don’t be afraid to experiment with different shades to suit your style and eye color. Deep browns, rich plums, and metallic tones can all create stunning smokey effects. Select a dark eyeshadow as your base color, along with lighter shades for blending and highlighting.
- Apply the Base Color:
Using a dense eyeshadow brush, apply your chosen base color to your eyelid, focusing on the outer corner and crease. Build up the color gradually, blending as you go to avoid harsh lines. Start with a small amount of product and gradually add more until you achieve your desired intensity.
- Blend, Blend, Blend:
Blending is the key to a seamless smokey eye look. Use a fluffy blending brush to soften the edges of your eyeshadow, creating a gradient effect that transitions from dark to light. Concentrate on the crease and outer corners, ensuring there are no harsh lines or patches of uneven color.
- Add Depth and Dimension:
To intensify the smokey effect, layer a slightly darker shade of eyeshadow onto the outer corner and crease, focusing on creating depth and dimension. Blend the darker shade into the base color, gradually building up the intensity until you achieve a gradient effect that seamlessly transitions from light to dark.
- Highlight the Inner Corner:
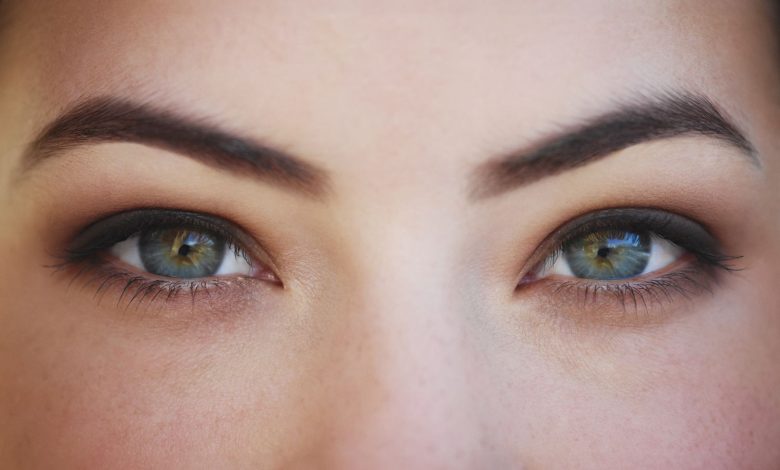
To brighten and open up the eyes, apply a shimmery or matte light-colored eyeshadow to the inner corner of your eyes. This will create a contrast against the darker shades and make your eyes appear larger and more awake.
- Define the Lower Lash Line:
For added drama, smudge a small amount of the dark eyeshadow along your lower lash line using a pencil brush. This will tie the look together and create a cohesive smokey effect. Be sure to blend the eyeshadow gently to avoid any harsh lines.
- Finish with Eyeliner and Mascara:
Complete your smokey eye look by lining your upper lash line with a black or dark brown eyeliner, making sure to stay as close to the lash line as possible. This will define the eyes and add extra intensity. Finish off with several coats of volumizing mascara to lengthen and volumize your lashes, completing the sultry look.
- Clean Up Any Fallout:
Smokey eye makeup can sometimes result in fallout, so it’s essential to clean up any excess eyeshadow that may have fallen onto your cheeks. Use a makeup wipe or some micellar water on a cotton pad to gently remove any stray particles without disturbing the rest of your makeup.
- Set Your Makeup:
To ensure your smokey eye look lasts all day or night, finish off with a spritz of setting spray to lock everything in place. This will help prevent smudging and fading, keeping your makeup looking flawless for hours on end.
Creating a smokey eye look may seem intimidating at first, but with practice and patience, you can master this classic makeup technique. Experiment with different colors and techniques to find the perfect smokey eye look that suits your unique style and personality. With the right tools and know-how, you’ll be turning heads and exuding confidence wherever you go.